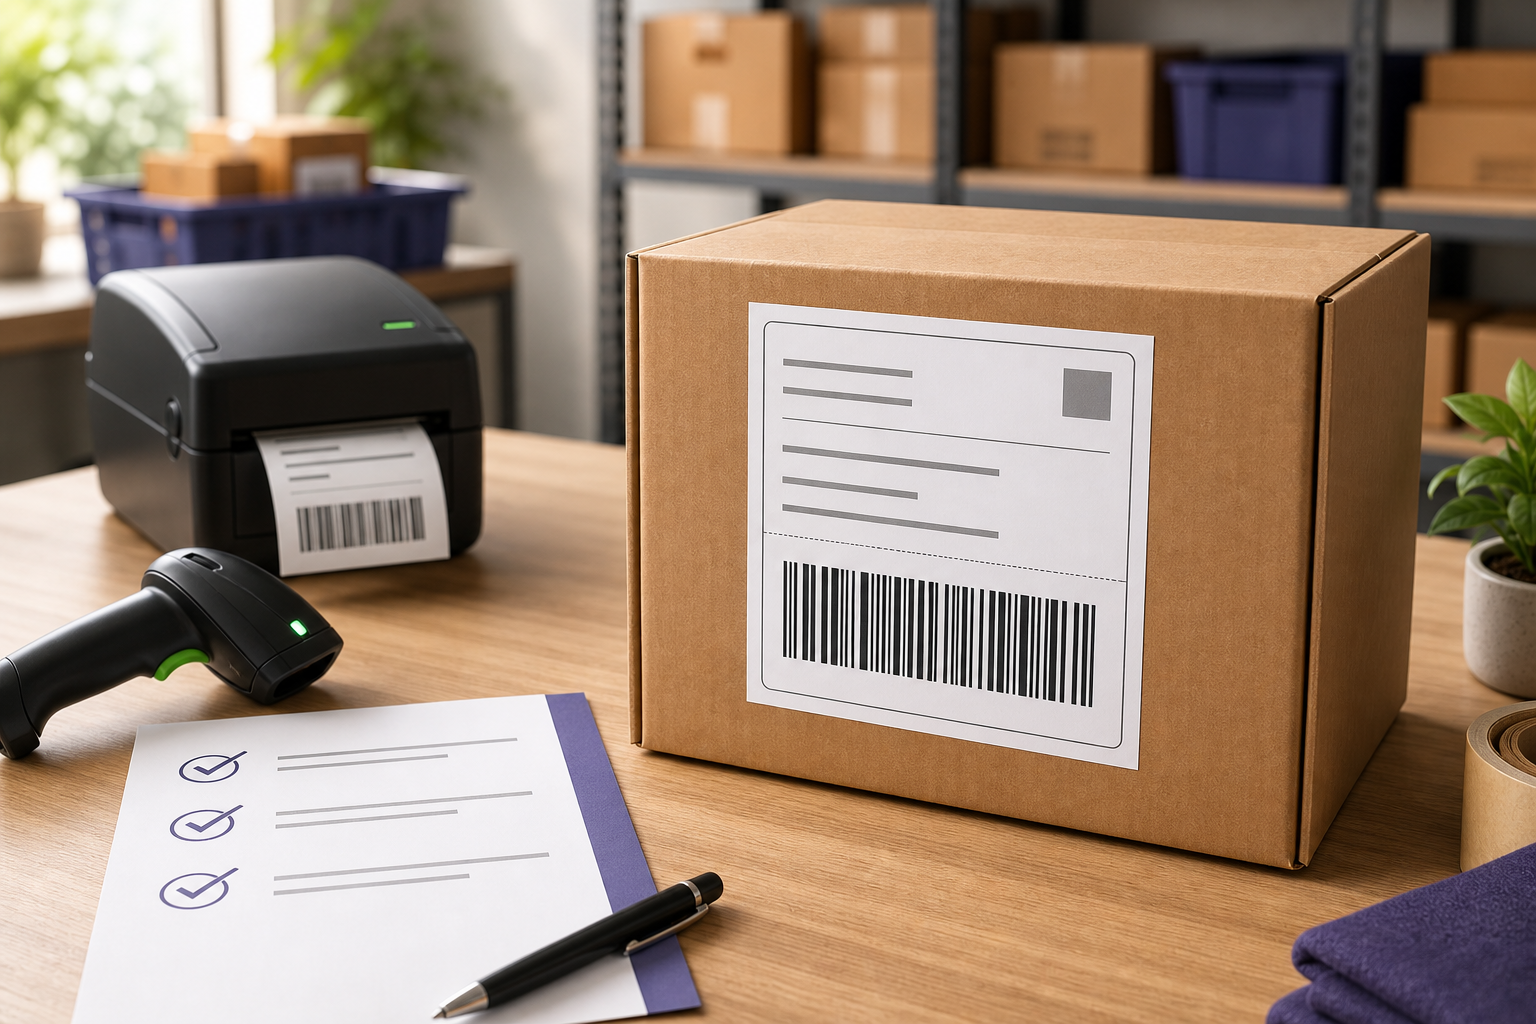
A label can look “good enough” to a person and still fail at pickup or at a sorting scan. A faint barcode, a fold across a QR code, two active labels on one box, or one swapped order in a large batch can create avoidable delays and rework.
The good news: most label problems are visible before handover. This guide combines marketplace guidance with common barcode and carrier practices so your team can run one fast, repeatable quality check. Always follow the current instructions shown in your marketplace seller panel when they differ, because requirements can vary by fulfilment method.
Save this checklist
The 30-second check before pickup
The 9 mistakes—and how to prevent them
1. Printing a faint, streaky or blurry barcode
Missing black lines, grey print and white streaks reduce contrast. Start by printing one label, not the entire batch. Check that the smallest text is readable and that both 1D and 2D codes scan. If print is weak, clean the printhead, confirm the correct paper side, and adjust darkness or speed gradually. Do not keep increasing darkness until narrow bars merge.
2. Shrinking the entire page until the label becomes too small
“Fit to page” can quietly reduce a marketplace label when an A4 PDF is sent to a 4×6 printer. Choose the intended paper size and print at actual size unless the marketplace says otherwise. Amazon India’s Easy Ship guidance, for example, calls for a clear, readable 4×6-inch label on sticky paper. Treat that as an Amazon-specific requirement, not a universal rule for every channel.
3. Cropping into the barcode’s clear margin
The blank area around a barcode is functional space, not wasted paper. GS1 calls it the quiet zone: scanners use it to recognise where a code begins and ends. Crop page margins only when the complete label remains intact. Never trim tightly against the bars, QR corners, routing marks, address or order ID.
Removes unused PDF page space while keeping the complete marketplace label and its white margins.
Cuts close to barcode bars, removes a QR corner, hides routing text or separates required sections.
4. Placing the label across a seam, edge or curved surface
A barcode that bends over a corner is no longer presented as a flat pattern to the scanner. Place the label on the largest visible flat face of the parcel. Keep the full barcode away from box seams, corners, pouch wrinkles, straps and polybag folds. Press from the centre outward so no air bubbles remain.
5. Putting clear tape over the barcode
Clear tape can create glare under overhead scanners, while bubbles and creases distort the bars. Use self-adhesive stock when the marketplace requires it. If you must secure plain paper and the carrier permits it, tape only the outer edges and leave all codes and important text uncovered.
6. Leaving an old shipping label visible
Reused cartons are economical, but multiple scannable labels create ambiguity. Remove old labels or cover every old barcode, QR code, tracking number and address completely. Then apply the current label where it is easy to see.
7. Matching the right label to the wrong parcel
This is a process error, not a printer error—and it becomes more likely during a rush. Use a single matching key such as SKU plus order ID. Keep only one open order at each packing station, or divide a batch into small numbered groups. After sealing, read back the SKU or scan the code against the packing list before moving the parcel to the pickup area.
8. Adding marks or covering marketplace-required information
Handwritten notes, stamps and tape should not touch the barcode, QR code, address block or routing area. Do not redesign or remove sections from a marketplace-generated label just to save space. Amazon’s guidance explicitly asks sellers not to make markings on its Easy Ship labels; other marketplaces can have their own layout rules.
9. Printing the full batch without one test scan
A wrong paper setting repeated 200 times becomes an expensive problem. Print one sample after changing a printer, label roll, PDF tool or setting. Scan it with the device your team uses, verify the decoded order or tracking reference, then release the full batch. Re-test after cleaning or changing darkness settings.
A safer workflow for large batches
- Download once: keep the original marketplace PDF unchanged as your source file.
- Separate by channel and pickup: do not mix Amazon, Flipkart and Meesho labels on the same packing queue.
- Crop without cutting content: use the relevant Amazon, Flipkart or Meesho label tool while preserving the required content.
- Print one test: confirm paper size, orientation, scale, darkness and scanability.
- Match while packing: compare SKU/order ID before the parcel leaves the station.
- Make exceptions visible: put failed scans and unclear prints in a separate rework tray—never back into the ready pile.
- Count at handover: reconcile the parcel count with the manifest or pickup list.
What E-LabelCrop should—and should not—change
A label tool should remove repetitive page handling and make batches easier to print. It should not invent, rewrite or hide marketplace shipment data. Keep the original PDF, inspect the first processed output, and confirm the correct label is paired with the correct parcel.
Research sources
This article was reviewed against the following primary or first-party operational guidance. Marketplace rules can change, so confirm the latest instructions inside your seller account before changing a production workflow.
- Amazon India: Easy Ship labelling guidance—4×6 sticky labels, clear printing, flat placement and no markings.
- GS1: 10 steps to barcode your product—contrast, size, placement and quiet-zone basics.
- GS1 Logistic Label Guideline—barcode orientation, quiet zones and readable data.
- FedEx shipping label placement guidance—largest surface, no seams or edges, and no tape over barcodes.
- Zebra: thermal printing overview—why thermal printing is commonly suited to barcode labels.
Frequently asked questions
Can I put clear tape over a shipping label barcode?
Avoid it. Glare, bubbles and wrinkles can interfere with scanning. Prefer self-adhesive stock, or secure only non-barcode edges if the applicable marketplace or carrier allows it.
Where should I place a shipping label?
Place it flat on the largest visible surface, away from seams, corners, straps and curves. Keep the complete barcode on one face.
Should I crop marketplace shipping labels?
Crop unused page margins or separate complete labels, but never cut into a barcode, QR code, address, order identifier, routing code or required marketplace section.
Do all marketplaces require the same label size?
No. Size and layout can depend on the marketplace, fulfilment method and printer workflow. Use the specification provided with that shipment; do not copy one platform’s rule to every channel.
Editorial note: This guide is operational information, not an official policy document from Amazon, Flipkart, Meesho or any carrier. Platform-specific instructions in your seller account take priority.